Cleaning hardened concrete inside a mixing drum can be a challenge for many. According to John Michael, a concrete industry expert with over 15 years of experience, “Neglecting a dirty mixing drum can lead to serious operational issues.” When concrete mixes harden in a drum, they create stubborn residues that affect both performance and durability of new mixes.
Many believe that simply leaving the drum to soak is sufficient, but this often isn’t effective. The buildup can become cemented, and scraping alone is rarely enough. Employing the right tools and techniques can make a significant difference. For instance, using a combination of water, agitation, and specific cleaning agents can break down residues more efficiently.
It’s also important to remember that regular maintenance can prevent the need for these extensive cleaning efforts. Neglect may lead to more significant problems and potential downtime. Cleaning the drum thoroughly after each use, while tedious, pays off in the long run. Understanding how to clean hardened concrete inside a mixing drum not only saves time but also ensures the longevity of the equipment.
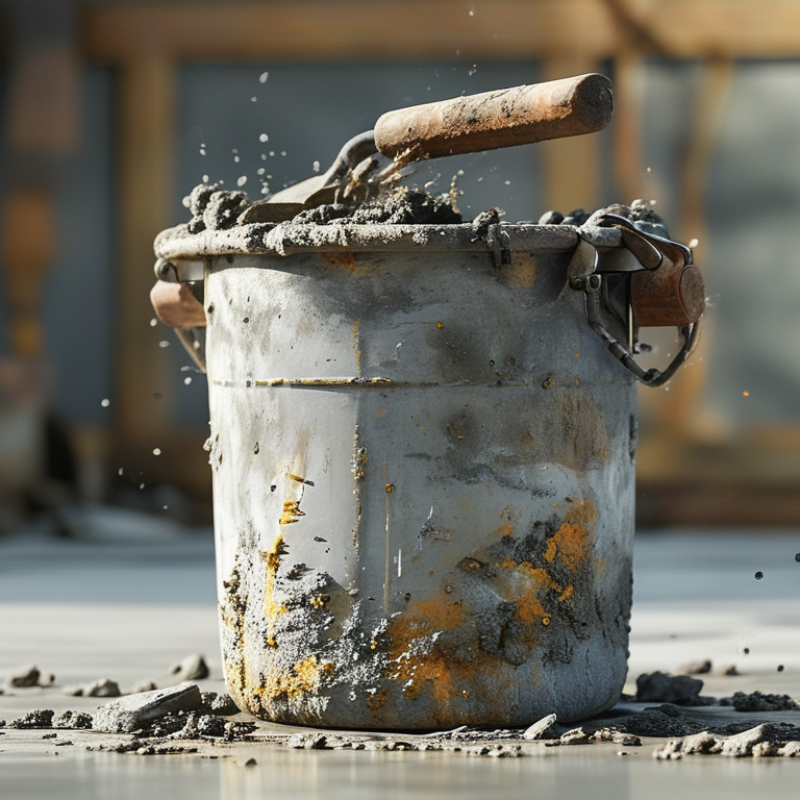
Hardened concrete in mixing drums presents a significant challenge for operators. Understanding its composition is key to effective cleaning. When concrete mixes, it includes cement, aggregates, water, and admixtures. Once set, this mixture becomes a solid mass that adheres strongly to surfaces within the drum. The bond forms as the cement hydrates, making it tough to remove.
Moreover, the age of the concrete affects its bond strength. Freshly mixed concrete is easier to clean compared to older, hardened material. The moisture content when the concrete sets will also influence how firmly it sticks. Experience shows that hardened concrete can be deceptively durable, requiring targeted approaches for removal. Scraping may work but can damage the drum.
It's crucial to reflect on past cleaning methods and outcomes. Many operators find they need to rethink their strategies as they battle with hardened concrete buildup. Sometimes, the tools at hand prove ineffective, leading to frustrating results. Developing a more thorough understanding of the material will ultimately guide better cleaning techniques.
When it comes to concrete, time and temperature play crucial roles in the hardening process. The American Concrete Institute states that concrete can begin to harden within just 30 minutes of mixing. At 70°F, the initial setting can occur in about 2 to 4 hours. However, as temperatures rise beyond 80°F, setting times can shorten significantly. This swift process can sometimes lead to complications if not properly managed.
In colder conditions, hardening can be much slower. For example, at 40°F, the time for initial set can increase to several hours, affecting overall project timelines. Concrete's curing rate is also influenced by humidity, with low humidity accelerating evaporation and premature surface hardening. These factors should be monitored closely, especially on large projects—an oversight here can result in concrete that is too hard to clean from mixing drums effectively, leading to more significant labor costs and time delays.
Proper understanding of these variables can enhance efficiency. A study from the Portland Cement Association highlights that inadequate temperature control during the hardening process can increase failure rates in concrete structures. Professionals must regularly assess environmental conditions during placement. With the right approach to managing time and temperature, the risk of hardening issues can be reduced, leading to higher quality outcomes.
Cleaning hardened concrete from a mixing drum requires the right tools to effectively combat the challenge. A high-pressure washer is essential for blasting away stubborn residue. The force of the water can dislodge hardened particles that scrubbing alone may not remove. A scrubbing brush with stiff bristles is also necessary. Look for one that can reach the drum’s bottom and corners. This will help in tackling any thick layers left behind after use.
Chemical solvents can assist in the cleaning process. Look for products that break down concrete, but use them cautiously. Follow all safety guidelines when handling chemicals. They can be effective but may not always be environmentally friendly. Additionally, consider using a wooden or rubber mallet. This tool can help in loosening stubborn chunks of concrete without damaging the drum. It's simple yet often overlooked.
Don't neglect the importance of rinsing everything thoroughly after cleaning. Residue from chemicals or concrete dust can be problematic. Take your time, and ensure areas are free from all debris. Incomplete cleaning may lead to more issues down the road. Proper maintenance of your mixing drum not only prolongs its life but also promotes safer operation.
Cleaning hardened concrete from a mixing drum can be a challenging task. One effective method involves using a mechanical mixer with a high-pressure water attachment. This can blast away the stubborn concrete buildup. The nozzle should be directed at the hardened areas for optimal results. Another option is to use specialized cleaning solutions. These solutions can break down the concrete, making it easier to remove. Always follow the manufacturer's instructions for safety.
Manual scrubbing can also help in difficult areas. A stiff-bristled brush works well for this purpose. However, this process can be time-consuming and labor-intensive. It requires patience and attention to detail. In some cases, combining manual scrubbing with a chemical solution can yield better results. Inspect your drum regularly to prevent excessive buildup in the future. Regular cleaning habits ensure a long lifespan for your equipment.
Using professional equipment can make a significant difference. High-powered pressure washers will allow for efficient cleaning. Ensure the water temperature is hot, as this aids in loosening the concrete. It’s important to manage your time effectively. Leaving concrete to harden significantly increases the amount of effort needed later. Always have a plan in place for regular maintenance. This can prevent the headache of cleaning hardened concrete altogether.
| Tip Number | Cleaning Technique | Required Equipment | Estimated Time | Effectiveness |
|---|---|---|---|---|
| 1 | Use of Chemical Cleaners | Concrete Dissolver, Brush | 30 minutes | High |
| 2 | Pressure Washing | Pressure Washer | 1 hour | Moderate |
| 3 | Mechanical Scrubbing | Drill Attachment, Scrubbing Pads | 45 minutes | High |
| 4 | Using Soda Blasting | Soda Blaster | 1-2 hours | Very High |
| 5 | Soaking with Water | Water Hose | Overnight | Moderate |
| 6 | Using an Angle Grinder | Angle Grinder, Diamond Blade | 1 hour | High |
| 7 | Acid Wash | Muriatic Acid, Water | 1 hour | Very High |
| 8 | Use of Hot Water | Hot Water Pressure Washer | 30 minutes | High |
| 9 | Hand Scraping | Scraper Tool | 1 hour | Moderate |
| 10 | Routine Maintenance | Cleaning Solution, Water | 30 minutes weekly | High |
When cleaning hardened concrete from mixing drums, safety should always come first. Wearing protective eyewear, gloves, and sturdy boots is crucial. These items help protect against flying debris and chemical exposure. Make sure the work area is well-ventilated to avoid inhaling harmful dust when chipping away the hardened concrete. It’s a good idea to have a first aid kit handy, just in case of accidents.
One effective approach is using a chipping hammer to break down the hardened concrete. This tool can save time and effort. However, it is essential to handle it with care to prevent accidents. Another method involves using high-pressure water jets. This can effectively remove concrete residues without excessive manual labor. Always check for leaks in the equipment before use.
Cleaning mixing drums requires persistence. Many people face challenges with tough spots that resist removal. It may take multiple methods to achieve a clean drum. Don't hesitate to take breaks if you feel fatigued. Working long hours can lead to mistakes. Always evaluate your progress to identify any areas needing more attention. Reflecting on your technique can lead to better practices in the future.
: A high-pressure washer effectively blasts away stubborn residue and dislodges hardened particles.
A stiff-bristled scrubbing brush helps reach the drum's bottom and corners, removing thick layers of concrete.
Yes, chemical solvents can help break down concrete, but use them cautiously and follow safety guidelines.
Thorough rinsing removes chemical residue and dust, preventing future issues and ensuring safe operation.
Yes, but it can be time-consuming. Combining scrubbing with chemicals can yield better results.
Inspect your drum regularly and establish a routine maintenance plan to avoid hardening issues.
Hot water is more effective for loosening concrete, making cleanup easier.
A wooden or rubber mallet can help loosen stubborn chunks without damaging the drum.
Proper maintenance extends your equipment's lifespan and promotes safer operation.
Leaving it for too long significantly increases the effort needed for cleaning later.
Cleaning hardened concrete inside a mixing drum can be a challenging task, but understanding its composition and the factors affecting hardening rates is crucial. Over time, exposure to heat and moisture can significantly accelerate concrete setting, making it essential to act quickly. The article offers practical insights into the essential tools needed for effective cleaning, such as scrapers, chisels, and powerful pressure washers.
To properly clean the residue, step-by-step techniques are provided, ensuring safe practices are highlighted throughout the process. Safety precautions, such as wearing protective gear and working in well-ventilated areas, are emphasized to prevent accidents while tackling the tough remnants of hardened concrete. Following these tips can greatly enhance your ability to clean hardened concrete inside a mixing drum safely and efficiently.

SSG Machinery